Irresistible Homemade Cheese Danish for a Perfect Morning Treat

Start your day with a burst of flaky, creamy goodness with this Homemade Cheese Danish recipe! Inspired by the classic bakery favorite, this easy-to-make treat combines buttery crescent rolls with a luscious cream cheese filling and a sweet glaze that melts in your mouth. Whether you’re treating yourself on a lazy weekend morning or surprising your family with a delightful breakfast, this recipe is a game-changer. With just a handful of ingredients and about 30 minutes of your time, you can whip up a batch of these golden pastries that rival any coffee shop offering. Let’s dive into this cozy kitchen adventure!
This recipe yields 12-16 danishes, depending on how you shape them, and is perfect for sharing or savoring over a couple of days. It’s ideal for breakfast, brunch, or even a sweet afternoon snack. Ready to get baking? Here’s everything you need to know!
Ingredients
Gather these simple yet delicious ingredients to create your homemade cheese danishes:
- For the Danish Base:
- 2 cans (8-ounce each) refrigerated crescent roll dough (look for the classic or seamless variety for best results) 🍞
- 2 tablespoons unsalted butter, melted (for brushing the dough) 🧈
- For the Cream Cheese Filling:
- 2 (8-ounce) packages cream cheese, softened to room temperature (full-fat for richness) 🧀
- 1 cup granulated sugar (adjust to taste for sweetness) 🍬
- 1 teaspoon pure vanilla extract (for a hint of warmth) 🌸
- 1 large egg yolk (for a smooth, rich texture; reserve the white for glazing) 🥚
- For the Glaze:
- ½ cup powdered sugar (sifted for a smooth finish) 🍚
- 1-2 tablespoons milk (adjust for desired consistency) 🥛
- ½ teaspoon vanilla extract 🌸
- Optional Garnish:
- 1 tablespoon fresh lemon zest (for a zesty twist)
- 2 tablespoons sliced almonds or chopped pecans (for crunch)
Equipment Needed
- Baking sheet
- Parchment paper
- Mixing bowls
- Electric mixer or whisk
- Rolling pin (optional, for shaping dough)
- Pastry brush
- Knife or pizza cutter
Instructions
Follow these detailed steps to craft your perfect cheese danishes. Each stage ensures a flaky exterior, creamy filling, and irresistible glaze.
Step 1: Preheat and Prepare
- Preheat the Oven: Set your oven to 375°F (190°C) and line a baking sheet with parchment paper to prevent sticking and ensure easy cleanup.
- Unroll the Dough: Open both cans of crescent roll dough. If using classic rolls, keep two triangles together to form rectangles. For seamless dough, gently roll it out into a large rectangle on a lightly floured surface.
Step 2: Create the Base
- Shape the Bottom Layer: Place half of the dough rectangles on the prepared baking sheet, pressing the seams together to form a solid base (about 12×8 inches). Brush lightly with melted butter for extra flavor and a golden finish.
- Prepare the Top Layer: Set the remaining dough aside for the topping, keeping it covered with a damp cloth to prevent drying.
Step 3: Make the Cream Cheese Filling
- Beat the Cream Cheese: In a medium bowl, use an electric mixer or whisk to beat the softened cream cheese until smooth and creamy, about 1-2 minutes.
- Add Sweetness and Flavor: Gradually add the sugar, vanilla extract, and egg yolk, beating until fully incorporated and silky. Scrape down the sides of the bowl to ensure even mixing.
- Spread the Filling: Spoon the cream cheese mixture evenly over the dough base, leaving a ½-inch border around the edges.
Step 4: Assemble the Danishes
- Add the Top Layer: Carefully place the remaining dough rectangles over the filling, stretching slightly to cover. Press the edges to seal, and use a knife to cut slits or a lattice pattern on top for ventilation and a decorative touch.
- Brush with Egg White: Lightly beat the reserved egg white and brush it over the top dough for a shiny, golden bake.
Step 5: Bake
- Bake the Danishes: Place the baking sheet in the preheated oven and bake for 20-25 minutes, or until the top is golden brown and puffed. Rotate the sheet halfway through for even cooking.
- Cool Slightly: Remove from the oven and let the danishes cool on the baking sheet for 10 minutes. This helps the filling set.
Step 6: Add the Glaze
- Prepare the Glaze: In a small bowl, whisk together the powdered sugar, 1 tablespoon of milk, and vanilla extract. Add more milk, a teaspoon at a time, until the glaze reaches a drizzle consistency.
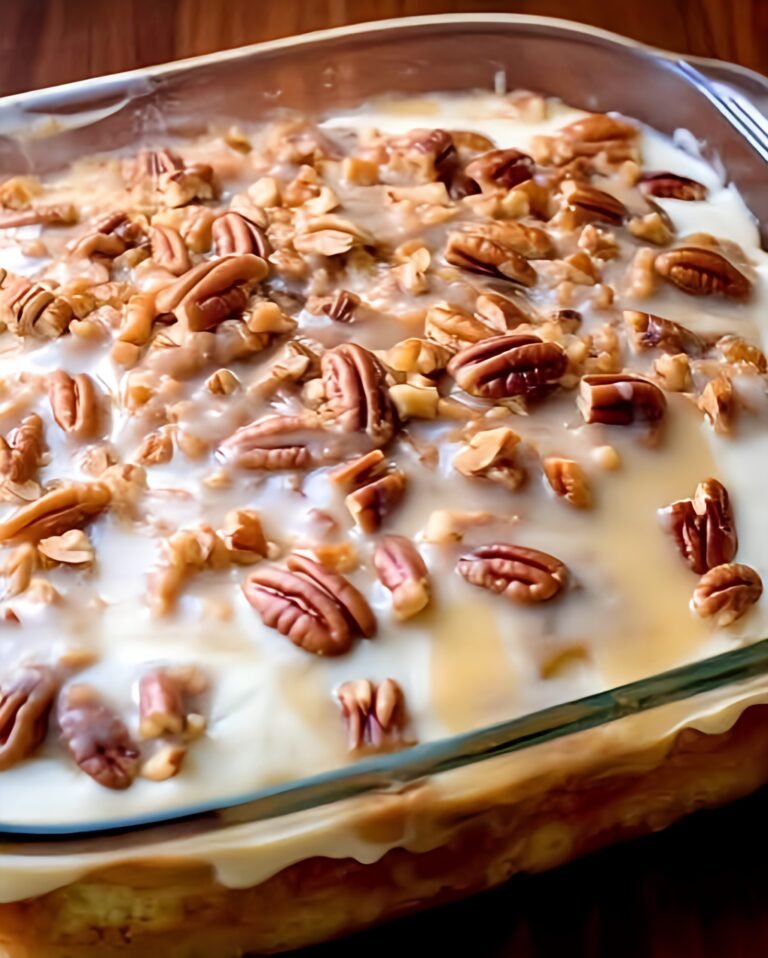
- Drizzle and Garnish: Spoon or pipe the glaze over the warm danishes. Sprinkle with lemon zest or nuts if desired for added texture and flavor.
- Serve: Slice into squares or rectangles and serve warm for the best experience.
Tips for Success
- Room Temperature Cream Cheese: Ensure the cream cheese is soft to avoid lumps in the filling. Let it sit out for 30 minutes or microwave it for 15-20 seconds.
- Seal the Edges: Press the dough edges firmly to prevent the filling from leaking during baking.
- Customize the Shape: Cut the dough into smaller squares before adding the filling for individual danishes, or roll it into a log for a cinnamon-roll-style treat.
- Storage Tip: These danishes are best enjoyed fresh, but you can store leftovers in an airtight container at room temperature for up to 2 days or refrigerate for up to 5 days.
- Reheat Gently: Warm leftovers in a 300°F oven for 5-7 minutes to restore the flaky texture.
Variations to Try
This recipe is a canvas for your creativity. Here are some fun twists:
- Fruit-Filled Danish: Add ½ cup of your favorite fruit preserves (like raspberry or apricot) over the cream cheese before sealing.
- Cinnamon Sugar Twist: Mix 1 teaspoon cinnamon into the sugar for the filling and sprinkle cinnamon sugar on top before baking.
- Chocolate Lover’s Version: Drizzle melted dark chocolate over the glaze or add chocolate chips to the filling.
- Savory Option: Omit the sugar and vanilla, and fill with a mixture of cream cheese, herbs, and shredded cheese for a savory breakfast pastry.
- Nutty Delight: Fold in ¼ cup chopped walnuts or almonds into the cream cheese mixture for added crunch.
Serving Suggestions
Elevate your cheese danishes with these pairings:
- Beverages: Serve with a steaming cup of coffee, a frothy latte, or a glass of cold milk.
- Sides: Pair with fresh fruit like strawberries or a dollop of whipped cream for a balanced treat.
- Occasions: Perfect for brunch gatherings, holiday mornings, or as a sweet addition to a breakfast buffet.
Storage and Reheating
- Storage: Store cooled danishes in an airtight container at room temperature for up to 2 days or refrigerate for up to 5 days. Freeze for up to 1 month by wrapping tightly in plastic wrap and foil.
- Reheating: Warm in a 300°F oven for 5-7 minutes or microwave for 15-20 seconds. Avoid overheating to preserve the texture.
Why You’ll Love This Recipe
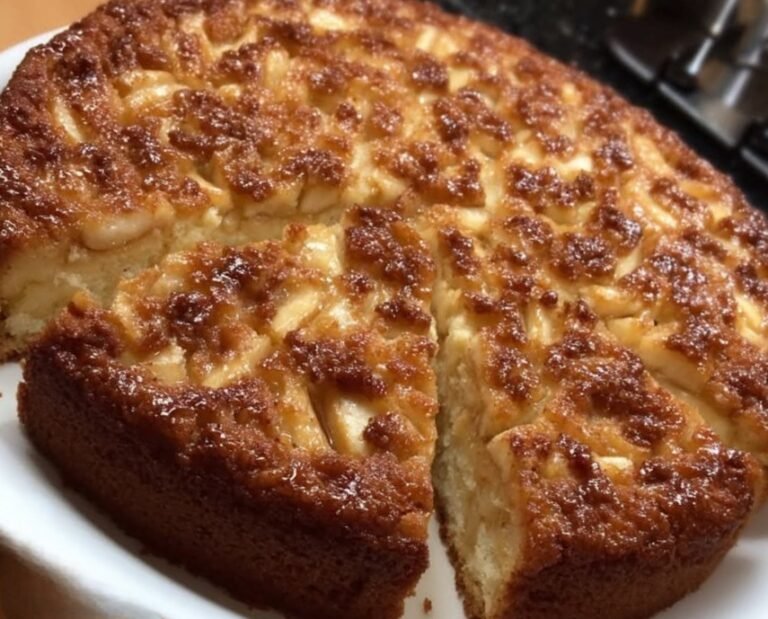
This Homemade Cheese Danish is a celebration of simplicity and indulgence. The buttery, flaky layers of crescent dough paired with the creamy, sweet filling create a pastry that feels like a hug in every bite. It’s quick enough for a weekday treat yet elegant enough for special occasions. Plus, the ability to customize it with your favorite flavors makes it a versatile staple in any kitchen.
So, preheat your oven, gather your ingredients, and treat yourself to this delightful morning indulgence. Share your creations with us in the comments or on social media—we’d love to see your delicious results!