Coconut Cream Dream Cake Recipe
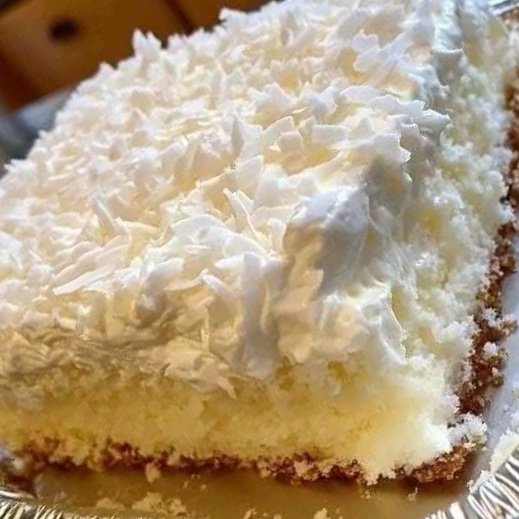
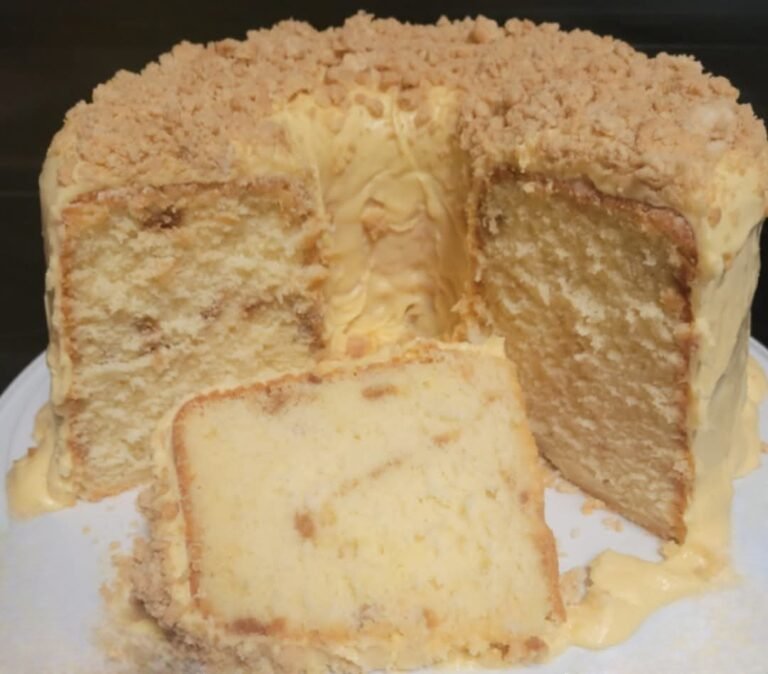
Indulge in the tropical bliss of this Coconut Cream Dream Cake, a moist and flavorful dessert that combines a tender cake base with a luscious coconut-infused cream topping. Perfect for celebrations or a sweet treat any day, this homemade recipe will transport your taste buds to a sunny paradise. Let’s dive into the details!
Ingredients
For the Cake:
- 1 box of classic white cake mix (we recommend a high-quality brand like Duncan Hines for best results)
- 3 large fresh eggs
- 1 cup whole milk (for added richness)
- ½ cup vegetable oil (or substitute with melted coconut oil for extra coconut flavor)
- 1 small box (3.4 oz) instant vanilla pudding mix (or try almond pudding mix for a twist)
- 1 teaspoon pure vanilla extract (or almond extract for a nutty undertone)
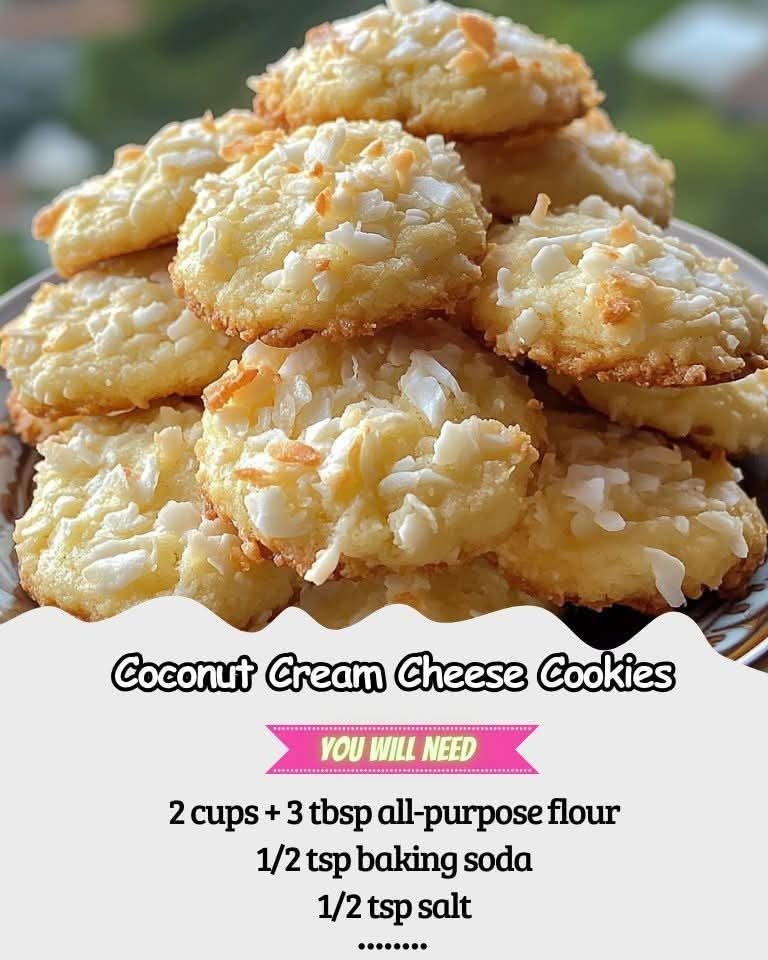
- ½ cup sweetened shredded coconut (optional, for texture)
For the Coconut Cream Topping:
- 1 ½ cups heavy whipping cream
- ½ cup powdered sugar (adjust to taste)
- 1 teaspoon coconut extract
- 1 cup sweetened shredded coconut (toasted, for garnish)
- 1 can (14 oz) coconut cream, chilled (for a creamy filling layer)
For the Crust (Optional Base):
- 1 ½ cups graham cracker crumbs
- ⅓ cup unsalted butter, melted
- 2 tablespoons granulated sugar
Instructions
Step 1: Prepare the Crust (Optional)
- Preheat your oven to 350°F (175°C). In a medium bowl, combine graham cracker crumbs, melted butter, and sugar until the mixture resembles wet sand.
- Press the mixture evenly into the bottom of a 9×13-inch baking pan lined with parchment paper or a greased aluminum foil tray.
- Bake for 8-10 minutes until lightly golden. Remove from the oven and let it cool while you prepare the cake batter.
Step 2: Make the Cake Batter
- In a large mixing bowl, combine the white cake mix, eggs, milk, vegetable oil, instant pudding mix, and vanilla extract. Using an electric mixer, beat on medium speed for 2-3 minutes until the batter is smooth and creamy.
- If desired, fold in the ½ cup of shredded coconut for an added layer of texture.
- Pour the batter evenly over the cooled crust (or directly into the pan if skipping the crust).
Step 3: Bake the Cake
- Bake in the preheated oven at 350°F (175°C) for 25-30 minutes, or until a toothpick inserted into the center comes out clean.
- Allow the cake to cool completely in the pan, about 1 hour, before adding the toppings.
Step 4: Prepare the Coconut Cream Topping
- In a chilled mixing bowl, whip the heavy cream and powdered sugar together using an electric mixer on high speed until soft peaks form.
- Add the coconut extract and continue whipping until stiff peaks form.
- In a separate bowl, whisk the chilled coconut cream until smooth. Gently fold this into the whipped cream mixture to create a rich, coconut-infused frosting.
Step 5: Assemble the Cake
- Spread the coconut cream topping evenly over the cooled cake using a spatula.
- Sprinkle the toasted shredded coconut generously over the top for a delightful crunch and visual appeal.
- For an extra touch, refrigerate the cake for 1-2 hours to let the flavors meld and the topping set.
Step 6: Serve and Enjoy
- Slice the cake into squares and serve chilled or at room temperature. Pair with a cup of coffee or tea for a perfect dessert experience.
- Store any leftovers in an airtight container in the refrigerator for up to 3 days.
Tips for Success
- Toasting the coconut garnish enhances its flavor—simply spread it on a baking sheet and bake at 325°F (165°C) for 5-7 minutes, stirring occasionally.
- For a dairy-free version, substitute the milk and cream with coconut milk and a plant-based whipping cream.
- Experiment with adding a layer of pineapple preserves between the cake and topping for a tropical twist!
Why You’ll Love This Cake
This Coconut Cream Dream Cake is a crowd-pleaser with its moist texture, creamy layers, and irresistible coconut flavor. Whether you’re hosting a party or treating yourself, this recipe is sure to impress with its homemade charm and versatility.
Enjoy baking, and let us know how your version turns out! Share your photos or variations with us—we’d love to hear from you.