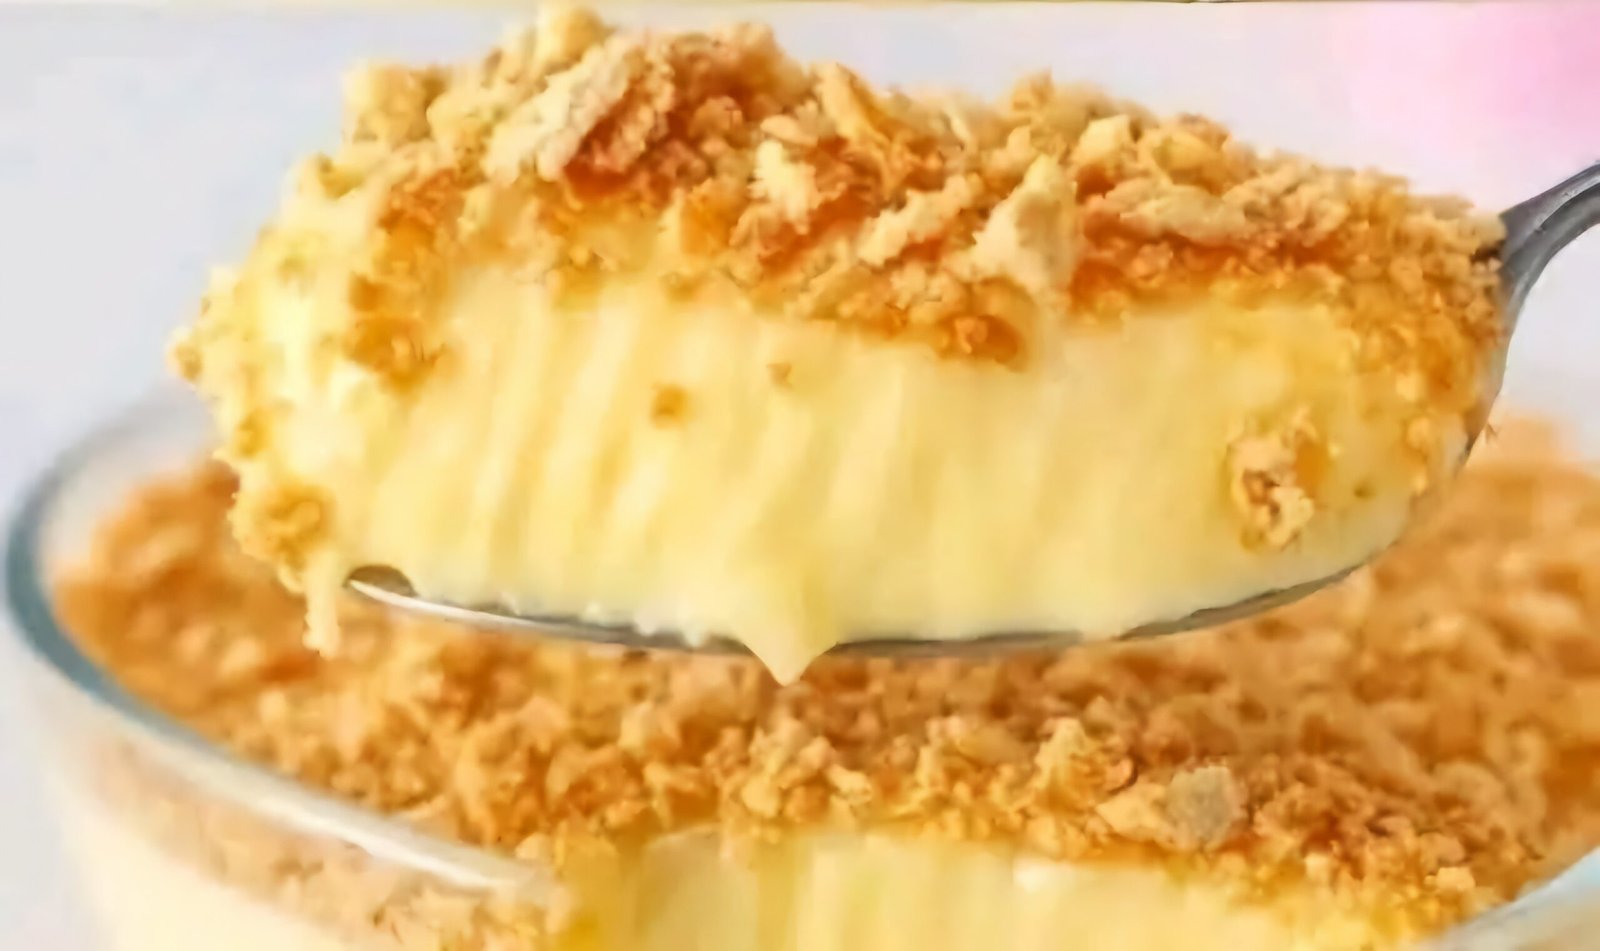
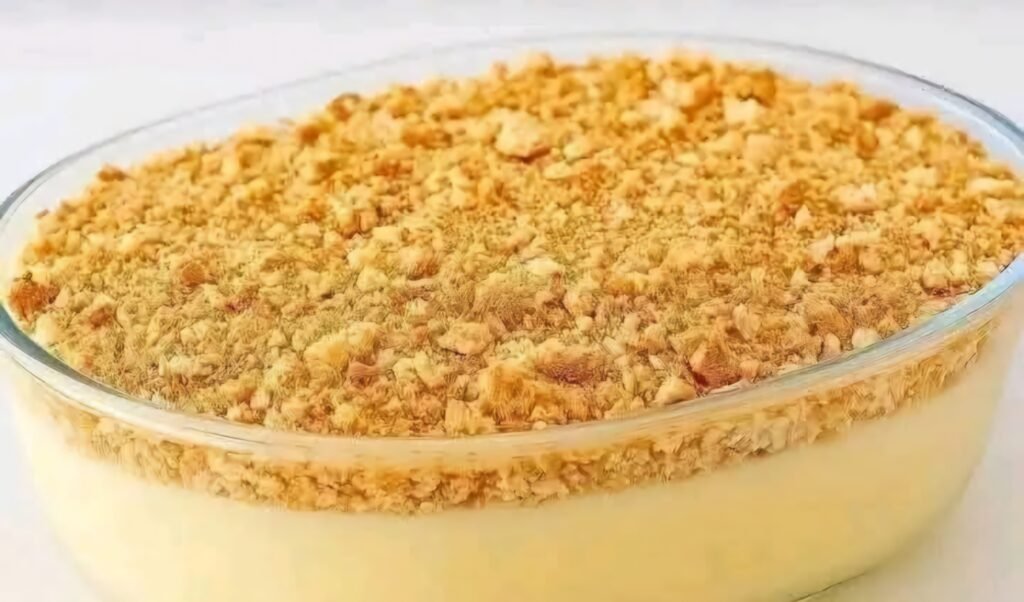
No-Bake Creamy Biscuit Pudding: A Luscious Layered Dessert
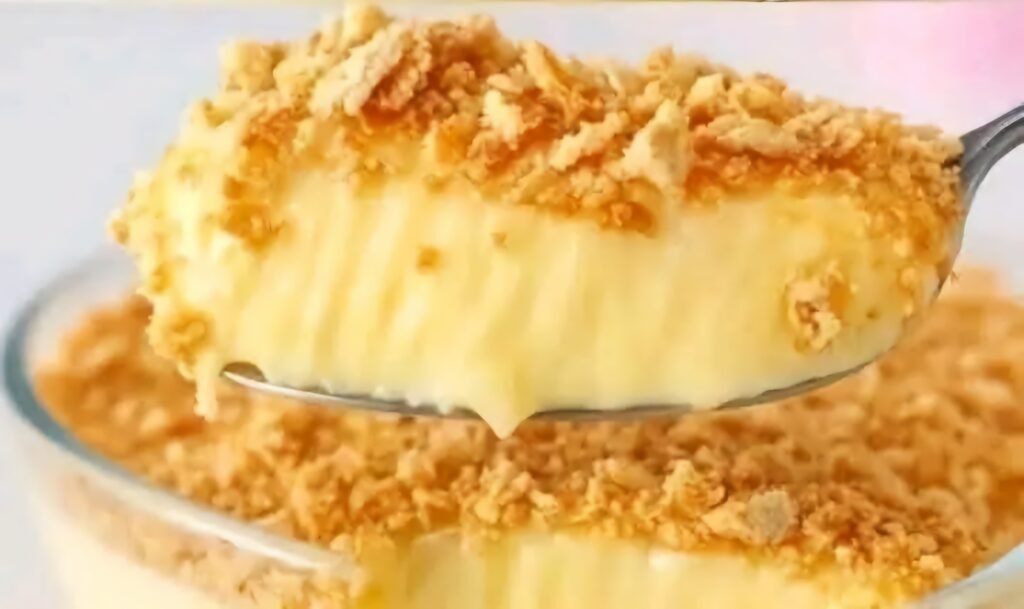
Indulge in the ultimate no-bake treat with this Creamy Biscuit Pudding, a delightful dessert that combines silky, velvety custard with the satisfying crunch of biscuits. Perfect for warm days when you want to skip the oven or for impressing guests with minimal effort, this recipe is a crowd-pleaser that’s as easy to make as it is delicious. With layers of rich custard and crumbly biscuits, this dessert strikes the perfect balance of textures and flavors. Whether you’re hosting a gathering or craving a sweet escape, this make-ahead pudding will become your go-to recipe for effortless indulgence.
Servings: 6-8
Prep Time: 15 minutes
Cook Time: 10 minutes
Chill Time: 2-4 hours (or overnight for best results)
Total Time: 2 hours 25 minutes
Ingredients
For the Creamy Custard:
- 3 cups (700ml) whole milk, for a rich and creamy texture
- 1 can (14 oz) sweetened condensed milk, for sweetness and depth
- 4 tablespoons cornstarch, to thicken the custard
- 1 teaspoon pure vanilla extract, for a warm, aromatic flavor
- ¼ cup unsalted butter (optional, for extra richness and a glossy finish)
For the Biscuit Layers:
- 2 packets (about 14-16 oz) digestive biscuits, graham crackers, or any plain biscuits of your choice
- Extra biscuits, crushed, for topping (about ½ cup of crumbs)
For Serving (Optional):
- Whipped cream, for a decadent touch
- Fresh berries (strawberries, raspberries, or blueberries) for a pop of color
- Chocolate shavings or cocoa powder, for a chocolatey twist
- Chopped nuts (like almonds or hazelnuts) for added crunch
Equipment Needed
- Medium saucepan
- Whisk
- Spatula or spoon
- Deep glass or ceramic dish (8×8 or 9×9 inches for a square shape, or a rectangular dish for larger servings)
- Rolling pin or food processor (for crushing biscuits)
- Ziplock bag (optional, for crushing biscuits)
- Measuring cups and spoons
- Refrigerator
Instructions
- Craft the Silky Custard Base:
In a medium saucepan, combine 3 cups of whole milk, 1 can of sweetened condensed milk, and 4 tablespoons of cornstarch. Use a whisk to blend the ingredients thoroughly, ensuring the cornstarch dissolves completely to avoid lumps. This mixture will form the luscious, creamy foundation of your pudding.
Place the saucepan over medium heat and stir constantly with a whisk or wooden spoon. As the mixture warms, it will gradually thicken into a smooth, custard-like consistency, typically within 5-7 minutes. When it reaches the texture of a thick pudding, remove it from the heat. Stir in 1 teaspoon of vanilla extract for a warm, aromatic note. For an extra-rich custard, add ¼ cup of unsalted butter and stir until it melts seamlessly into the mixture. Set the custard aside to cool slightly, stirring occasionally to prevent a skin from forming. - Prepare the Biscuit Crumbs:
While the custard cools, crush half of your biscuits into fine crumbs to create the base and layers of your pudding. Place the biscuits in a ziplock bag and gently crush them with a rolling pin, or pulse them in a food processor for a finer texture. Aim for crumbs that are small but not powdery, as they’ll add a delightful crunch to contrast the creamy custard. Set the crumbs aside, keeping some whole biscuits for additional layers if desired. - Build the Base Layer:
Choose a deep glass or ceramic dish (an 8×8-inch or 9×9-inch dish works well for a beautiful presentation). Sprinkle a thin, even layer of crushed biscuit crumbs across the bottom of the dish. This forms the sturdy, crunchy foundation for your layered dessert. Press the crumbs lightly with the back of a spoon to create a compact base, ensuring the custard adheres well. - Add the First Custard Layer:
Pour half of the slightly cooled custard over the biscuit crumb base, using a spatula or the back of a spoon to spread it evenly. The creamy custard will seep into the crumbs, creating a harmonious blend of textures. Take your time to ensure the layer is smooth and even for a polished look. - Create Additional Biscuit Layers:
Sprinkle another generous layer of crushed biscuits over the custard, adding as much as you like for extra texture. If you prefer a chunkier texture, you can break the biscuits into larger pieces rather than fine crumbs. This middle layer adds a satisfying crunch that makes each bite irresistible. - Top with the Remaining Custard:
Pour the remaining custard over the second biscuit layer, spreading it carefully to cover the crumbs completely. This top layer of custard seals in the flavors and gives the dessert a creamy, luxurious finish. Smooth the surface with a spatula for a professional presentation. - Finish with a Crunchy Topping:
For the final touch, sprinkle a generous handful of crushed biscuit crumbs over the top of the custard. This adds a delightful crunch and makes the dessert visually appealing. For extra flair, you can mix in a pinch of cinnamon, cocoa powder, or even a few chocolate shavings to elevate the presentation. - Chill to Perfection:
Cover the dish with plastic wrap or a lid and place it in the refrigerator to chill for at least 2 hours, though 4 hours or overnight is ideal for the best texture and flavor. Chilling allows the custard to set fully and the biscuit layers to soften slightly, melding the flavors into a cohesive, delectable dessert. - Serve and Savor:
Once chilled, your Creamy Biscuit Pudding is ready to enjoy! For a neat presentation, slice the pudding into squares or rectangles, or simply scoop it into bowls for a rustic, comforting dessert. Serve as is, or garnish with a dollop of whipped cream, a handful of fresh berries, or a sprinkle of chopped nuts for added flair. The contrast of the creamy custard and crunchy biscuits is sure to delight everyone at the table.
Tips for Success
- Smooth Custard Every Time: Whisk the custard constantly while heating to prevent lumps or scorching. If lumps do form, strain the custard through a fine-mesh sieve before layering.
- Customize the Biscuits: Experiment with different biscuits to suit your taste—digestive biscuits offer a classic flavor, while graham crackers add a hint of honeyed sweetness. Shortbread or vanilla wafers can also work for a unique twist.
- Flavor Variations: Add a pinch of cinnamon, nutmeg, or cocoa powder to the custard or biscuit layers for a flavor boost. For a decadent touch, swirl in some melted chocolate or caramel sauce between layers.
- Make It Ahead: This dessert is perfect for preparing the night before, as the flavors deepen and the texture improves with longer chilling. It’s a stress-free option for parties or busy schedules.
- Storage: Store leftovers in an airtight container in the refrigerator for up to 3 days. The biscuit layers may soften over time, but the pudding will still be delicious.
Why This Recipe Shines
This no-bake biscuit pudding is a game-changer for dessert lovers. Its simplicity—requiring just a handful of pantry staples—makes it accessible for cooks of all skill levels, while its versatility allows for endless customization. The no-bake nature means you can whip it up without heating up the kitchen, making it ideal for warm weather or when you’re short on time. The combination of creamy custard and crunchy biscuit layers creates a textural contrast that’s both comforting and indulgent, while the make-ahead option makes it a stress-free choice for entertaining.
Serving Suggestions
- Elevate the Presentation: Serve in individual glass jars or dessert cups for a chic, layered look that’s perfect for dinner parties.
- Pair with Beverages: Enjoy alongside a cup of coffee, chai, or a glass of dessert wine to complement the sweetness. For kids, a cold glass of milk is a classic match.
- Add Toppings: Experiment with toppings like fresh fruit, a drizzle of chocolate or caramel sauce, or a sprinkle of toasted coconut for extra flair.
- Seasonal Twists: For a festive touch, add a layer of crushed gingersnaps during the holidays or top with crushed candy canes for a wintery vibe.
Variations to Try
- Chocolate Lover’s Delight: Stir 2 tablespoons of cocoa powder into the custard for a chocolatey version, or layer with chocolate biscuits.
- Fruit-Infused Pudding: Add a layer of sliced bananas, strawberries, or mango between the custard and biscuits for a fruity twist.
- Nutty Crunch: Mix crushed biscuits with chopped nuts like almonds, pecans, or hazelnuts for extra texture and flavor.
- Coffee Kick: Infuse the custard with a teaspoon of instant coffee or espresso powder for a mocha-inspired dessert.